


I am engaged in the development of adaptive websites for more than 6 years. During this time I managed to create a huge number of websites and other graphic works. I spend a lot of time on self-education. In the past I was a retoucher photographer.


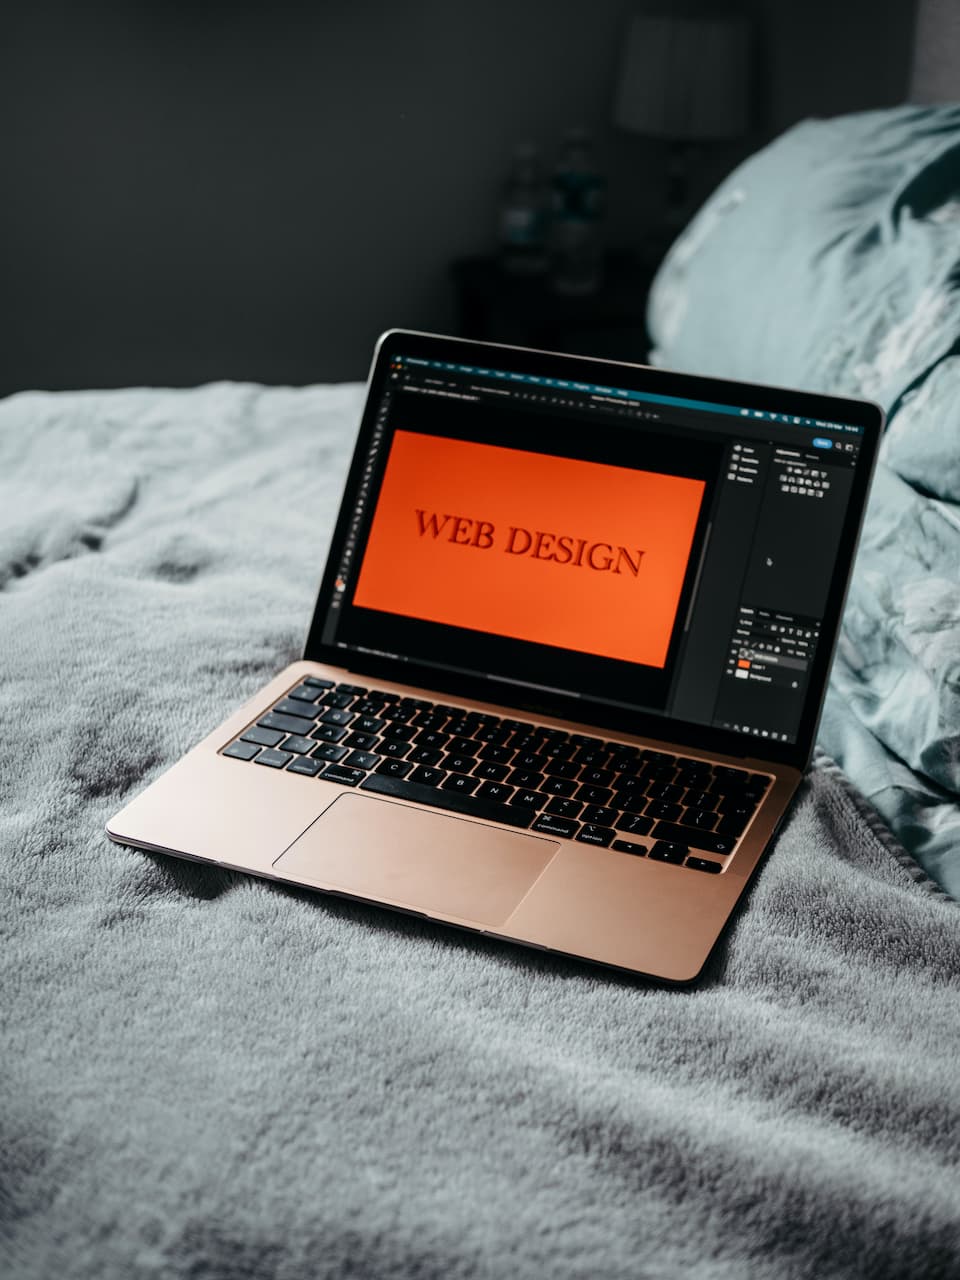
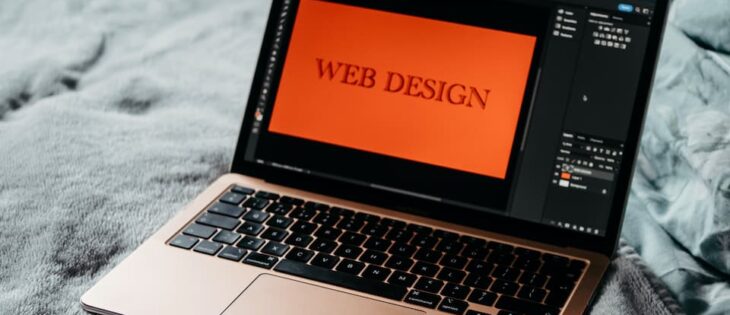
Web design is an ever-evolving field, constantly adapting to technological advancements, user preferences, and industry standards. What was once considered innovative can quickly become obsolete, making it crucial for web designers and developers to stay updated. In this article, we’ll look at some web design practices that are no longer relevant today and should be […]
The digital landscape has never been more vibrant and dynamic as it is in 2023. Websites have evolved, not just as static platforms to provide information, but as immersive, interactive, and emotionally engaging digital experiences. In an era where digital competition is intense, the role of design in capturing user attention and ensuring their loyalty […]
When creating a brand, you need to consider the type of experience you want people to have when interacting with it. This experience cannot be added on in the end; you need to think about it from the start. Discover the secrets to enhancing your brand experience in this must-read article. Uncover actionable steps to […]
In the digital age, the art of web design has become increasingly relevant, not only for creating visually appealing websites but also for enhancing user experience and engagement. Surprisingly, these web design skills can also be applied to the realm of online casinos, such as Spicy Jackpots Casino and casinos without Gamstop listed at casinositesnotongamstop.com. […]
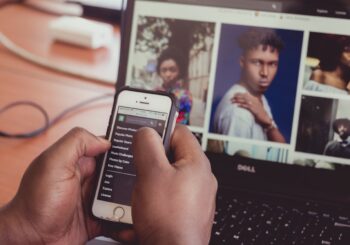
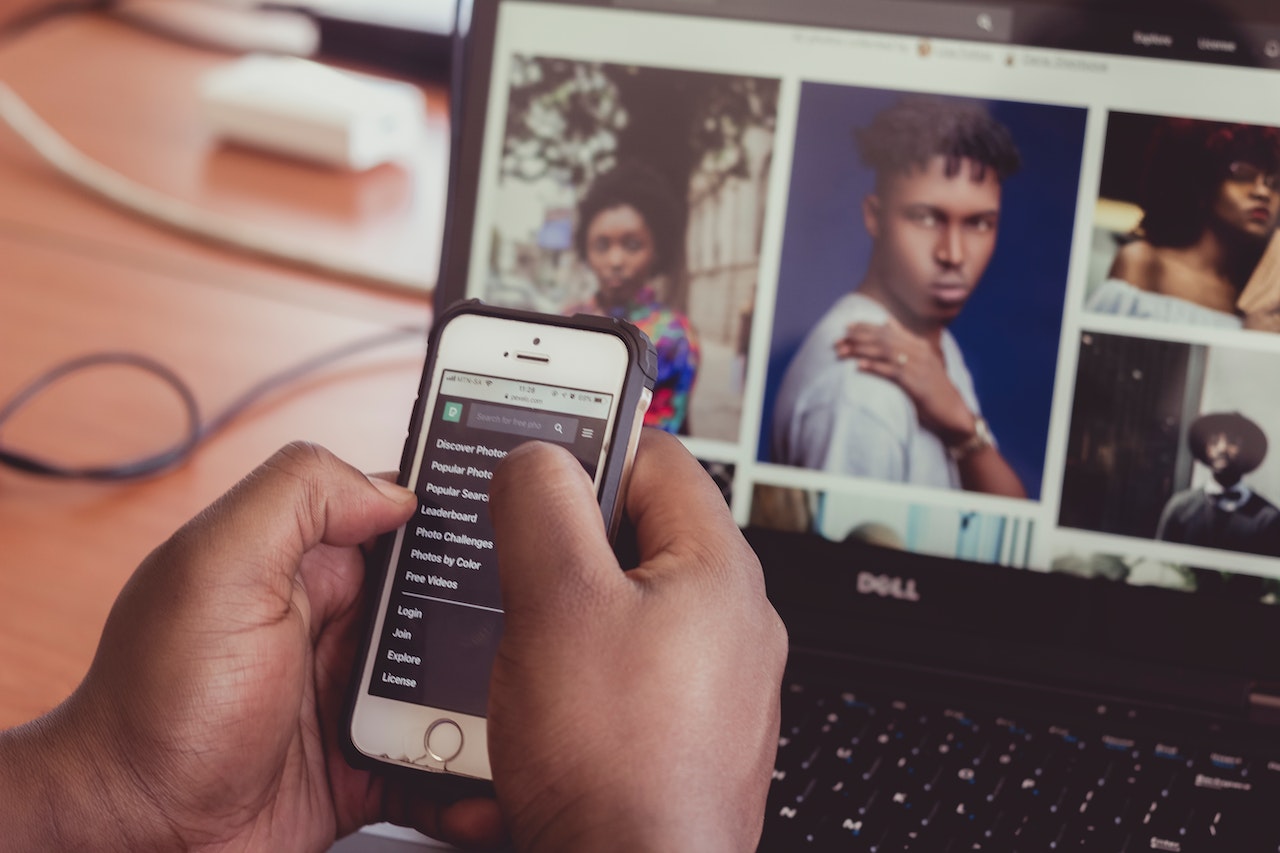
Using free images can be a great way to get the content you need without spending any money. However, it is important to be aware of the potential issues that may arise when using free images. First and foremost, there is no guarantee that the image you are using isn’t infringing on copyright laws. This […]
There are numerous web designs and opinions on what a perfect website should look like. The many differentiations arise from the fact that design is subjective; hence what one person likes is hideous to another. Many people can judge a company’s credibility from its web design. As a result, this impacts conversions, bounce rates and […]
Web design is an art, but it takes a lot of tools to achieve that great look. Web design software is undoubtedly at the core of any website development project. You probably need some web design software if you need to create, edit, or publish static or interactive websites. There are so many different web […]


![]()
![]()
![]()


![]()
Welcome to the web design blog called Corlan. As you have already understood it is not chosen by chance - our project is for all those who, like us, have a soft spot for web design of various Internet projects and sites. But it might as well be useful to anyone who just works or just enjoys designing websites, trying to make their blogs better or just looking for inspiration. We have all that (and much more)!